MAIL US :
info@mybackyardgardens.com
CALL US :
+233 54 524 7788
LOCATION :
Dr Amilcar Kabral Rd

How to Start a Garden from Seed: A Step-by-Step Guide
Starting a garden from seed is a rewarding experience that allows you to grow a wide variety of plants, often at a fraction of the cost of buying seedlings. Whether you’re growing vegetables, herbs, or flowers, following these steps will help you successfully start your garden from seed.
1. Choose the Right Seeds
The first step in starting a garden from seed is selecting the right seeds. Consider your local climate, the season, and the space you have available. For beginners, start with easy-to-grow plants like tomatoes, lettuce, basil, or marigolds. Check the seed packet for information on the plant’s growing conditions and time to maturity.
2. Gather Your Supplies
Before you start planting, gather the necessary supplies. You’ll need:
- Seed trays or small pots: These are ideal for starting seeds indoors.
- Seed-starting mix: This is a lightweight, sterile soil mix designed to promote seed germination.
- Labels and markers: Labeling your seeds helps you keep track of what you’ve planted.
- Watering can or spray bottle: Use these for gentle watering.
- Plastic wrap or a humidity dome: These help retain moisture and warmth, which are essential for seed germination.
3. Prepare Your Seed-Starting Mix
Fill your seed trays or pots with the seed-starting mix. Lightly moisten the mix with water until it’s damp but not soaking wet. This ensures that the seeds have the moisture they need to germinate.
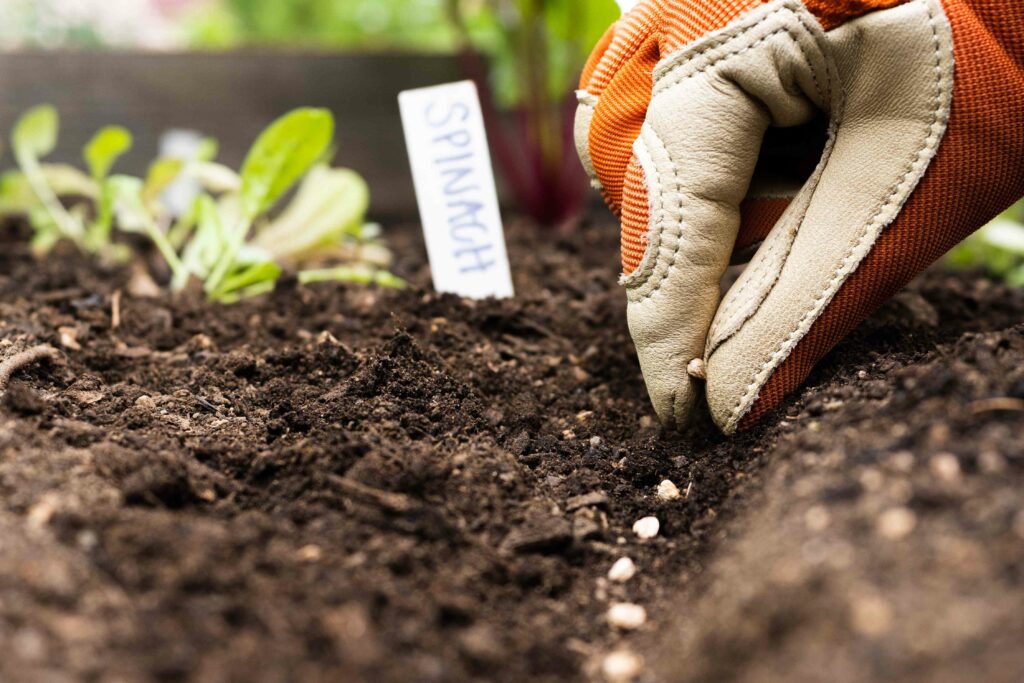
4. Plant the Seeds
Follow the instructions on the seed packet for planting depth. As a general rule, plant seeds at a depth of two to three times their width. Place one or two seeds in each cell or pot. If the seeds are very small, you can sprinkle them on the surface and lightly cover them with a thin layer of soil.
5. Provide the Right Environment
Seeds need warmth, moisture, and light to germinate. Place the seed trays in a warm location, such as on top of a refrigerator or near a heat source. Cover the trays with plastic wrap or a humidity dome to retain moisture and create a greenhouse effect. Once the seeds sprout, remove the cover and move the trays to a sunny location or under grow lights.
6. Water Carefully
Keep the soil consistently moist, but avoid overwatering, which can lead to mold or rot. Water gently using a spray bottle or a watering can with a fine spout. Bottom watering, where you fill the tray with water and let the soil absorb it, is also effective and helps prevent damping off—a common fungal disease in seedlings.
7. Thin Out the Seedlings
Once your seedlings have developed their first set of true leaves (the second set of leaves that appear), it’s time to thin them out. This means removing the weaker seedlings so that the strongest ones have room to grow. Use scissors to snip off the weaker seedlings at the soil level rather than pulling them out, which can disturb the roots of the remaining plants.
8. Harden Off Your Seedlings
Before transplanting your seedlings outdoors, they need to be hardened off, a process of gradually acclimating them to outdoor conditions. Start by placing the seedlings outside in a shaded, sheltered spot for a few hours each day, gradually increasing their time outdoors and their exposure to sunlight over a week or two.
9. Transplant the Seedlings
Once the seedlings are hardened off and the danger of frost has passed, they’re ready to be transplanted into your garden. Choose a cloudy day or transplant in the evening to reduce transplant shock. Dig a hole in your garden bed, carefully remove the seedling from its container, and place it in the hole. Gently firm the soil around the plant and water well.
10. Continue Care and Maintenance
After transplanting, continue to care for your plants by watering regularly, mulching to retain moisture, and providing support as needed (such as stakes for tomatoes). Keep an eye out for pests and diseases, and take action promptly if any issues arise.
Starting a garden from seed is a fulfilling process that connects you to your garden in a special way. By following these steps, you’ll be well on your way to growing healthy, thriving plants that you nurtured from the very beginning. Happy gardening!
Facebook
Twitter
LinkedIn
Pinterest
RECENT POSTS


The Ultimate Guide to Organic Gardening
August 22, 2024
No Comments
